


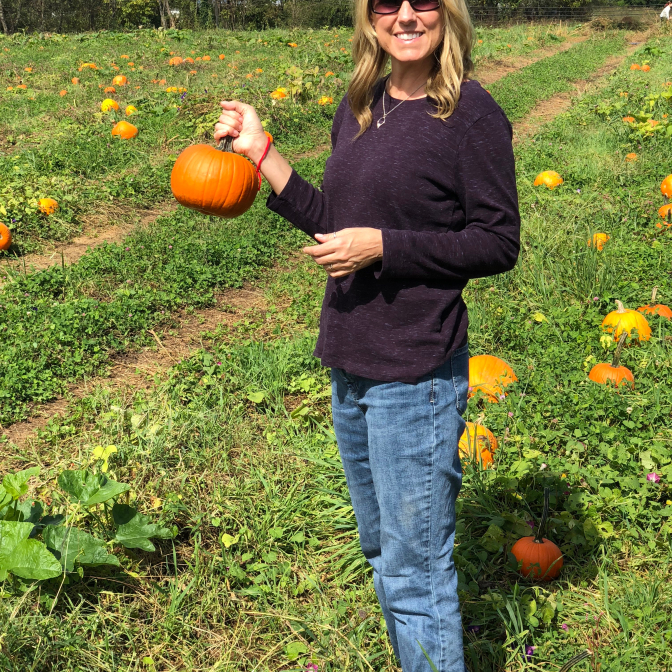
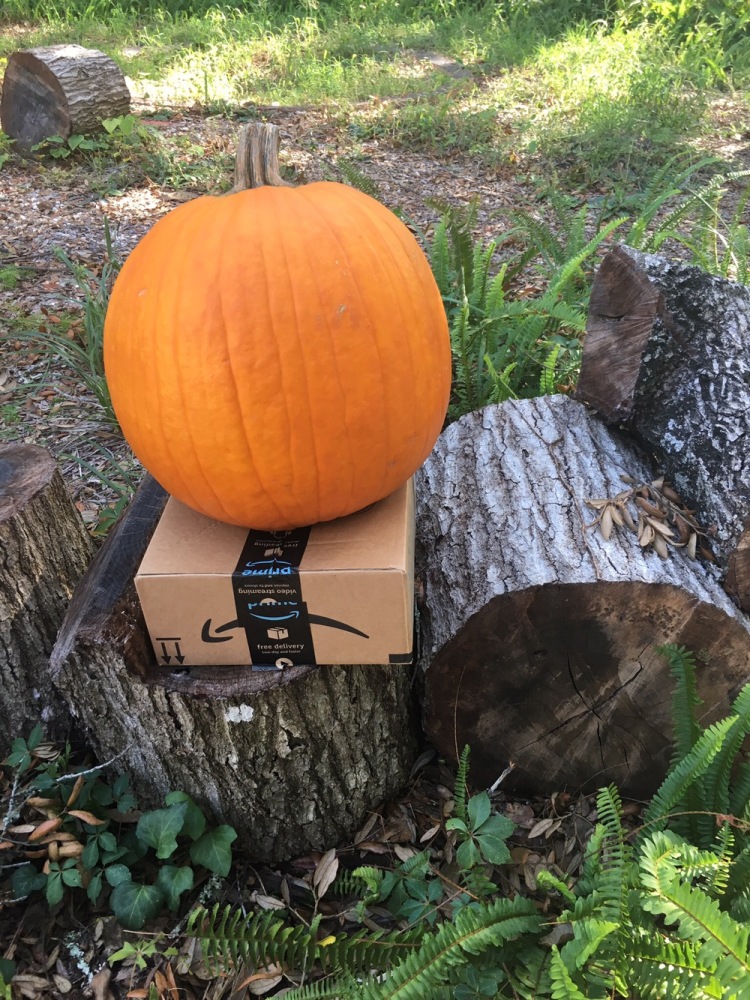
One of my must-do Halloween activities is carving pumpkins. I love visiting the pumpkin patch and picking out just the right one! I usually go for a medium size one with a good area to put on a “face.” I also like to use a pumpkin carving tool kit that at least has a scooper, little knife for details and big knife for things like cutting around the stem. You can get crazy with the tools, or dig around in the kitchen, but I recommend finding a kit with at least these three items to make things easier.
Plan Your Pumpkin Carving Design
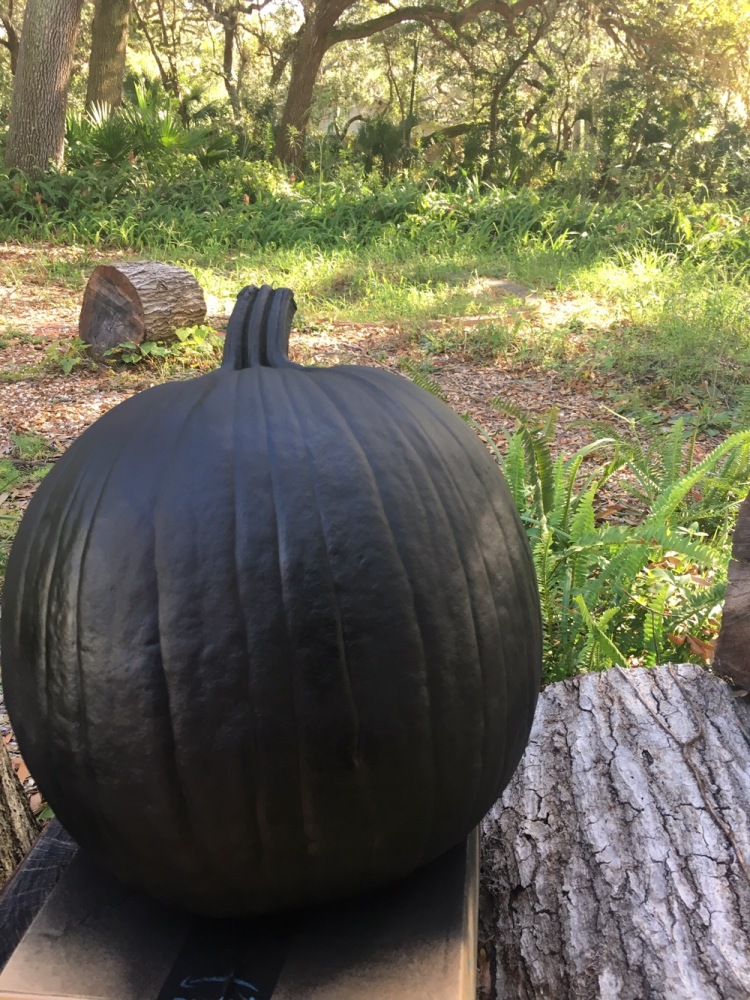
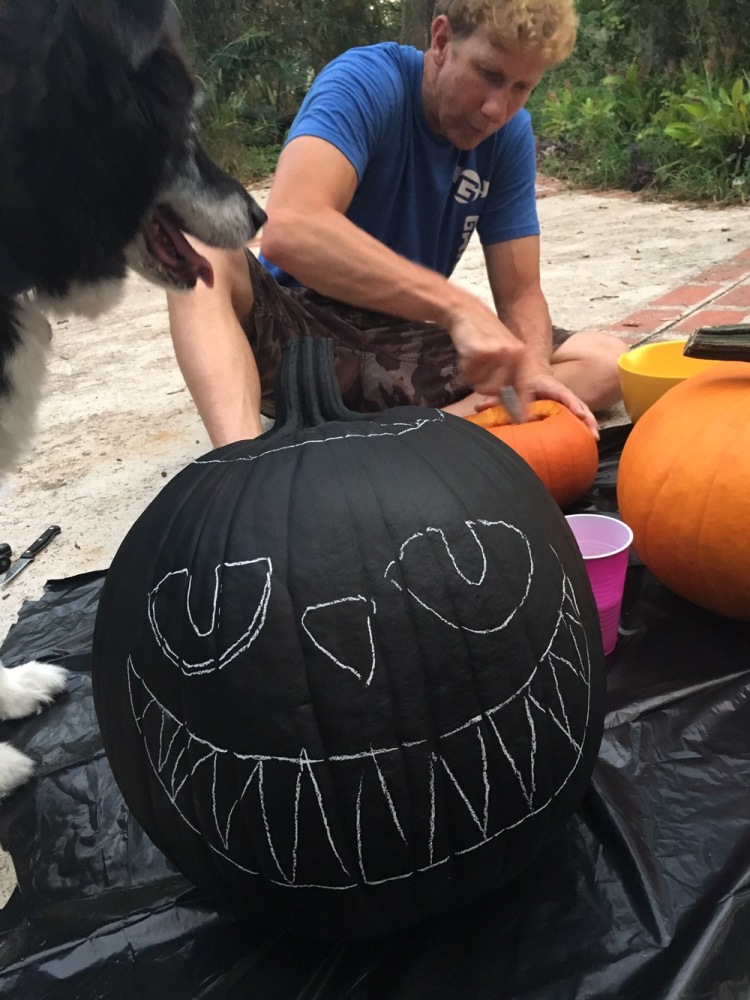
I wanted to try something different, so I started my pumpkin project by making a Pinterest board for ideas and tips. So thanks to Pinterest, I decided to paint my pumpkin black to make it look cooler during the day. I used regular flat black indoor/outdoor spray paint. I really like the contrast of the orange showing through where it’s cut.

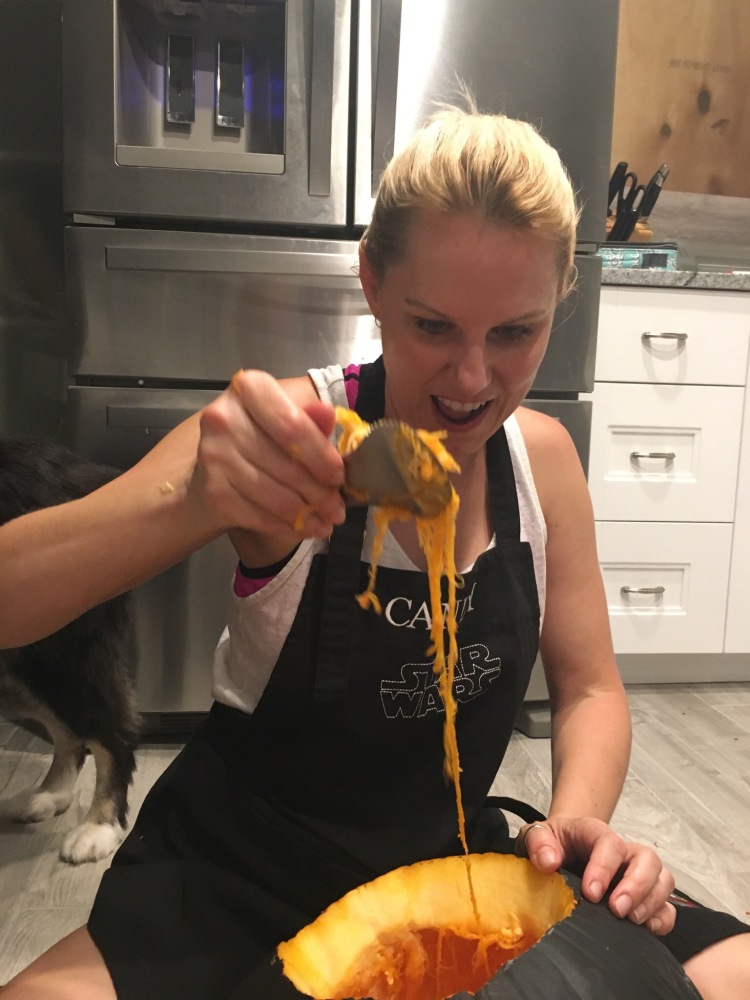
Scoop Out the Seeds and Insides
I used a large knife to cut around the top and then scooped everything out with the metal scooper. The pumpkin scooper works way better than a regular spoon and will save you from getting tired arms. At least, as tired, lol. It’s still a lot of work scraping out all that pumpkin goo! I was able to scrape the sides really clean and smooth and my scooper had serrated corners for digging out chunks, which was really helpful. And make sure you save your pumpkin seeds for roasting later!

Draw on a Design
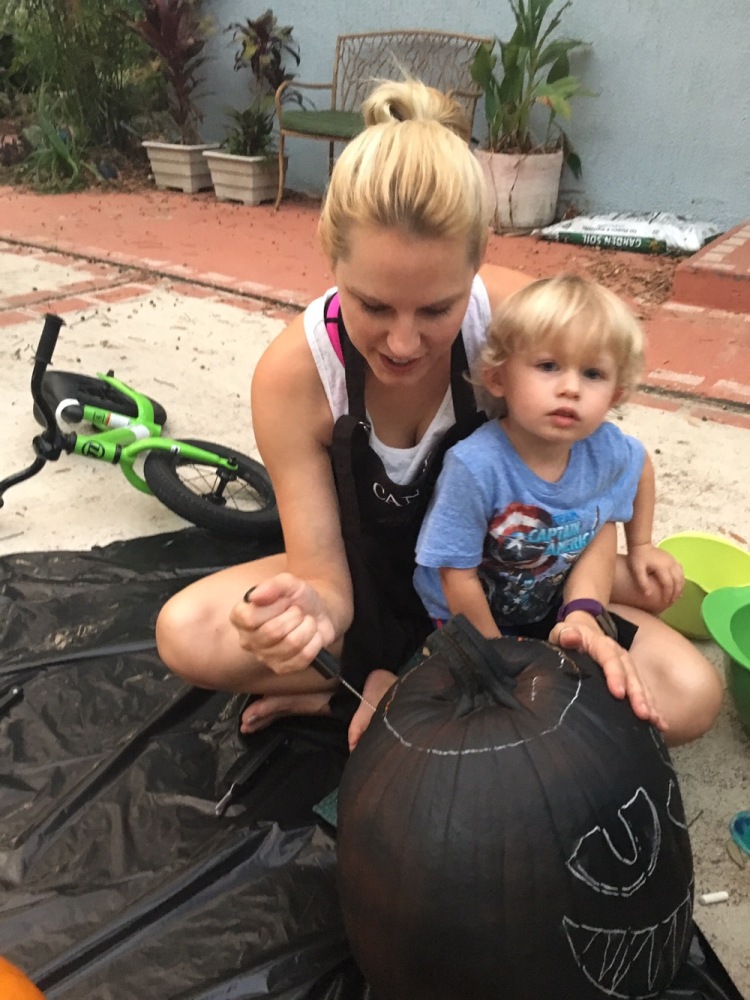
After the pumpkin was all cleaned up, I drew my design on with chalk. My son had a smaller pumpkin and I let him draw his face on with a sharpie so I could cut it out for him. He wasn’t into scooping out goo and too little for a knife, so it was a good way to get him involved a little. He enjoyed sitting in my lap while I was carving my design.
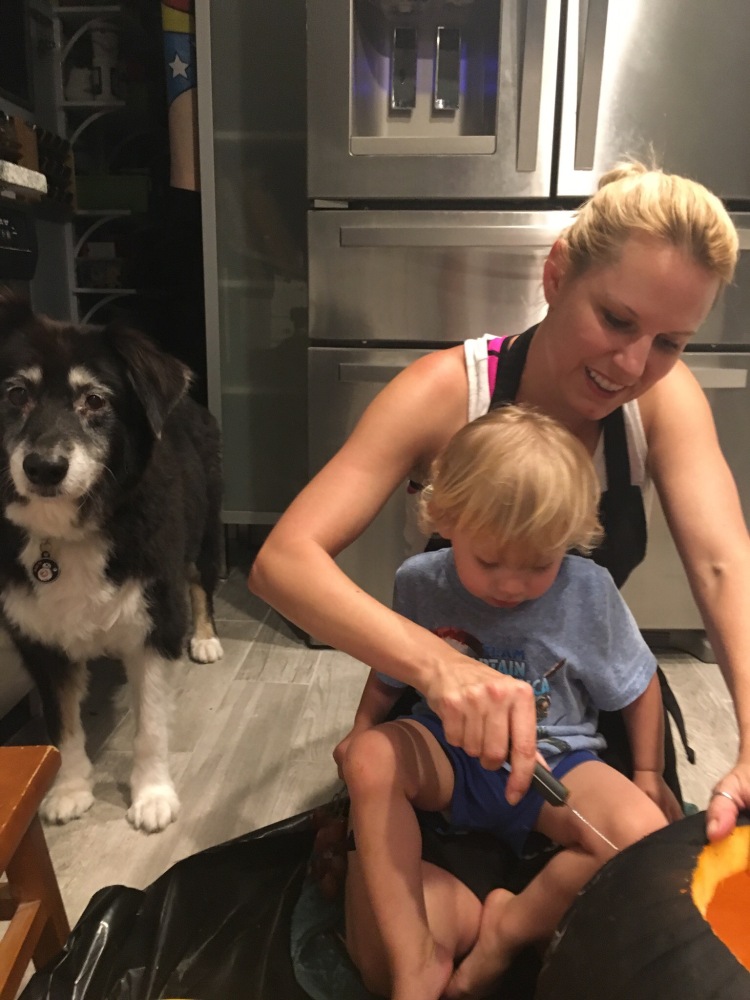
Carve Your Pumpkin
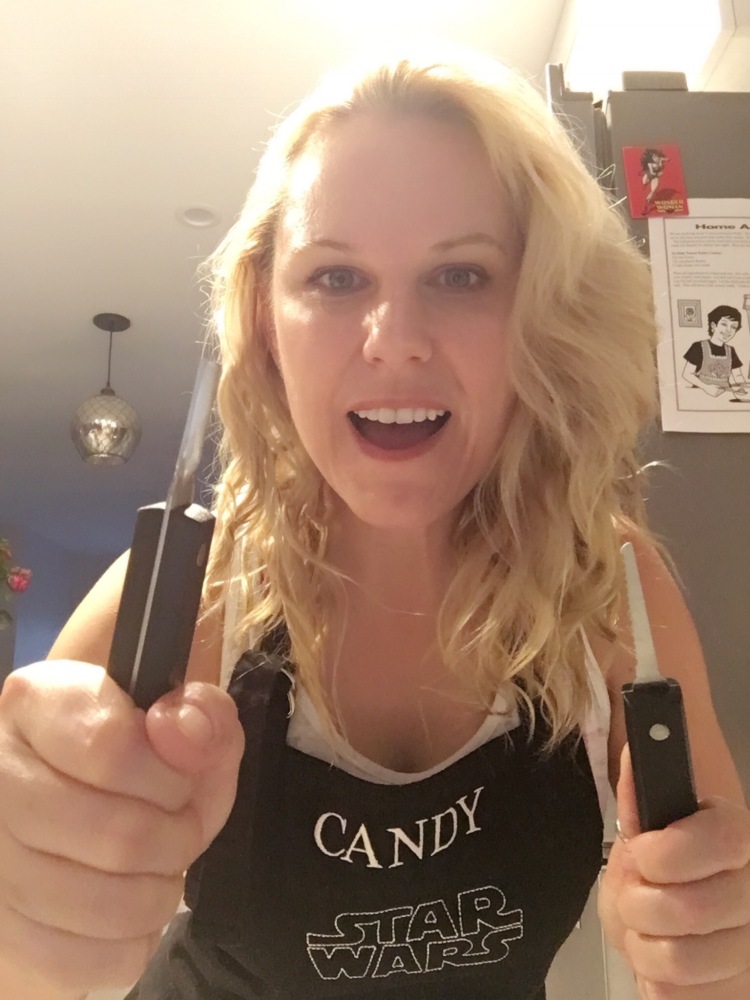
The really cheap pumpkin kits (usually found at the grocery store) come with flimsy knives that bend unless you poke them in just right, so make sure you choose one that has a sturdy knife. Another tool that comes in handy is the poker for making small holes. Those work well if you are using a stencil because you can make a “connect-the-dots” type pattern to follow.
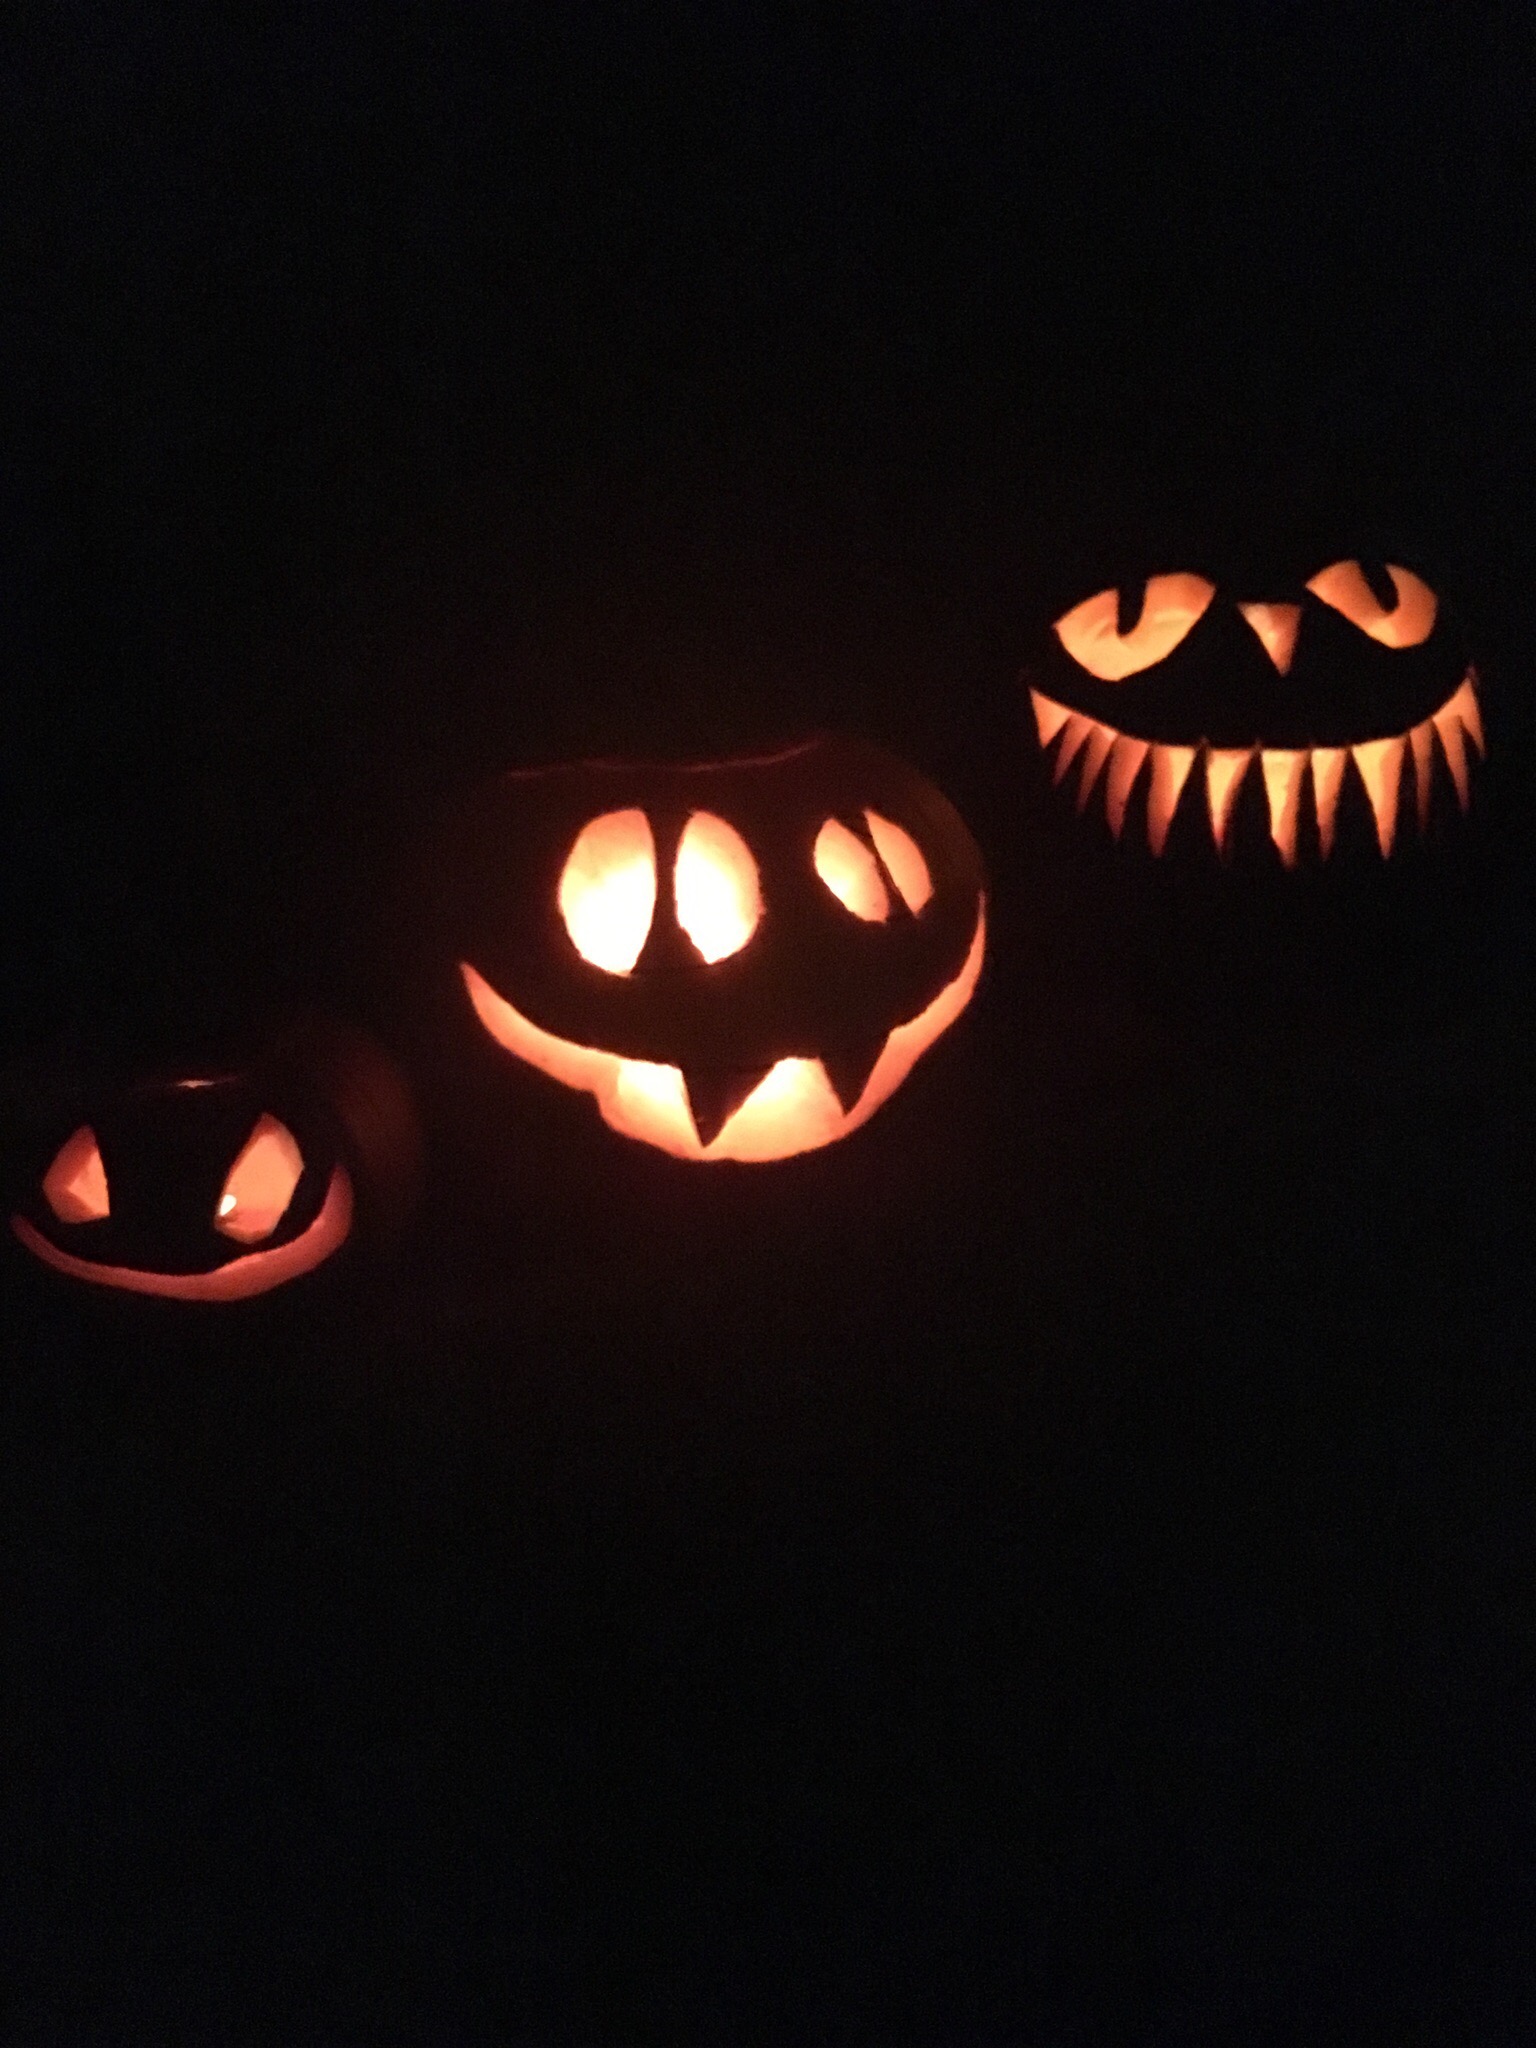
I was really happy with our pumpkin family results! The cool thing about the black pumpkin is that it looks just as neat in the daylight as it does at night. We went with a mix of both black and traditional orange.


I love your black pumpkin! So creative!!
LikeLiked by 1 person
It’s all thanks to Pinterest lol. I thought it was a really neat idea.
LikeLiked by 1 person
Pinterest … too good for it’s own good! 🙂
LikeLiked by 1 person
I never thought to paint a pumpkin first! That’s genius. Also, you’re a pro carver. Why am I not at all surprised?
LikeLiked by 1 person
Sharing this on tomorrow’s post!
LikeLiked by 1 person
Cool, thank you!!
LikeLiked by 1 person
You’re welcome!
LikeLiked by 1 person
These turned out great, nice job!
LikeLike
Thanks! 🙂
LikeLike